Part 0: Introducing the VTEX Headless CMS
Introduction
As a developer, you are responsible not only for creating custom frontend solutions for your client's store but also for defining which content of the storefront will be editable via a Content Management System (CMS). A CMS allows others to edit the frontend content of your store without having to touch your code at all.
In this tutorial, you'll learn how to integrate your FastStore project with the VTEX Headless CMS, our preferred solution for content management. This will give editors the autonomy to create, edit, and publish web content via the VTEX Admin.
Before you start
caution
This tutorial is intended for those who started their FastStore project with the Base Store starter. If you started your project with the Store Components starter, please refer to this tutorial instead.
Before you start this tutorial, make sure you have:
- Access to a VTEX account.
- The VTEX IO Admin role set up for your VTEX user. For more information, see VTEX Roles.
- Cloned your Gatsby + FastStore project into your local files.
info
This tutorial covers how to integrate your Gatsby + FastStore project with the VTEX Headless CMS. Both Gatsby and FastStore are not strict to any CMS solution. If you prefer, you can integrate your frontend with any CMS of your preference. However, keep in mind that this tutorial covers only VTEX Headless CMS patterns.
VTEX Headless CMS
VTEX Headless CMS is a VTEX App and a no-code management system for storefront content. That means you can store your content as structured data in a layer decoupled from the frontend and then use the VTEX Headless CMS to access and deliver your content to your FastStore project.
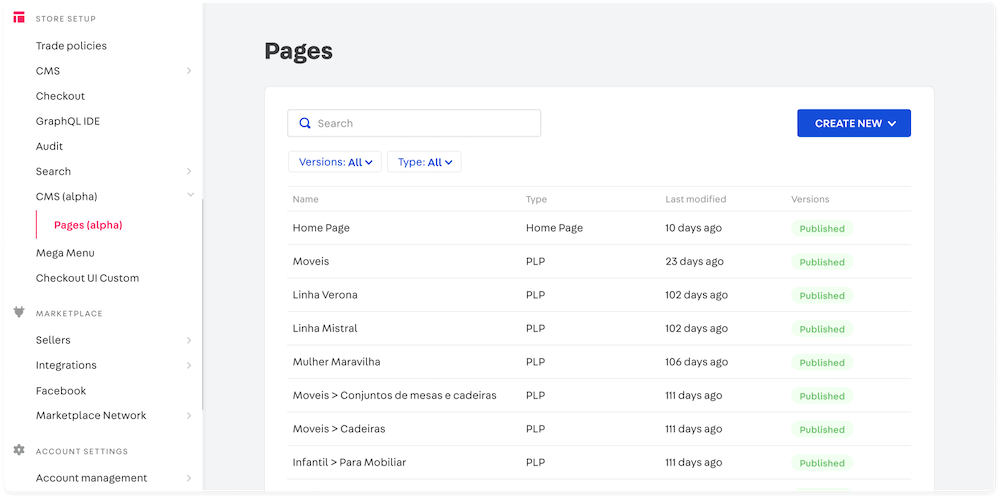
As with any other VTEX Admin app, you can install the VTEX Headless CMS in your VTEX account and access it via the Admin. Once installed in your account, you can access the VTEX Headless CMS at Store Setup > CMS (alpha) > Pages (alpha).
You'll then see a list of all web pages created with the VTEX Headless CMS. Notice that this list will be empty at first, but once editors start creating new pages, your interface will look similar to the following:

Notice that each page created with the VTEX Headless CMS is related to a specific URL and is distinguished by the following properties:
- Name: identifies a given page. This name is not available elsewhere and is used only internally in the VTEX Headless CMS for identification purposes.
- Type (a.k.a., Content Type): determines the nature of a page. For example, the Type can be a Landing Page, a Product Listing Page (PLP), a Product Detail Page (PDP), etc. You, as a developer, are the one responsible for defining which content types will be available for the editors of your store.
- Last modified: indicates the last time a given page was edited.
- Version: identifies the state of a page, if it's Draft, Publishing, or Published. Notice that editors can have more than one version of the same page with distinct settings and content.
Content Types
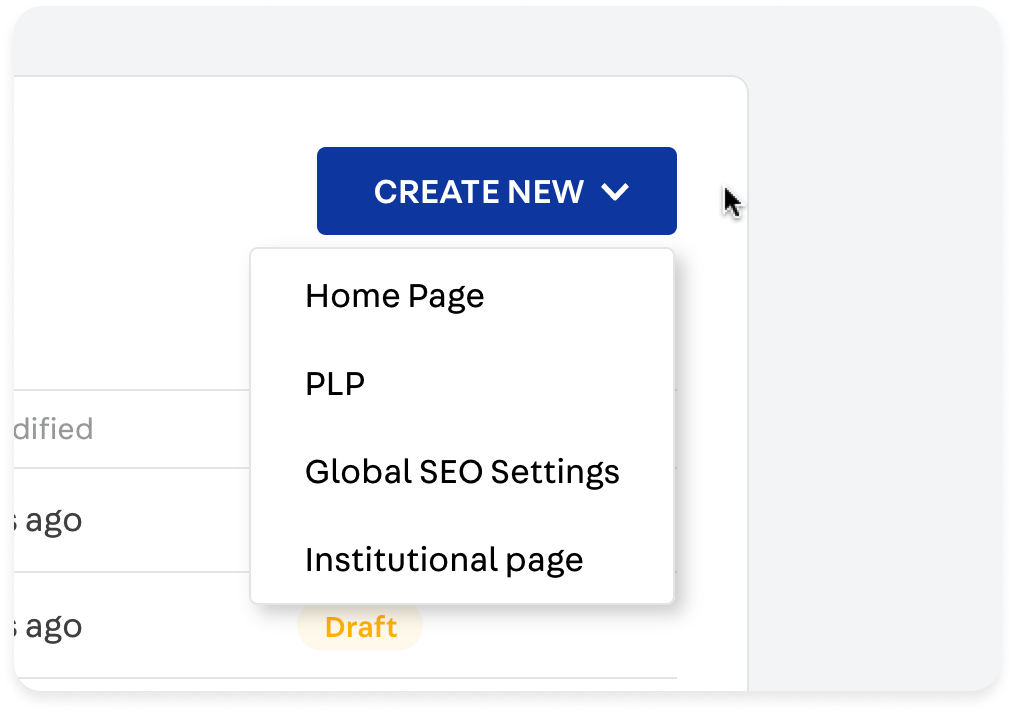
Once editors click on Create New in the VTEX Headless CMS interface, they'll be able to select a type from a list of Content Types that you, the developer, established.

Sections
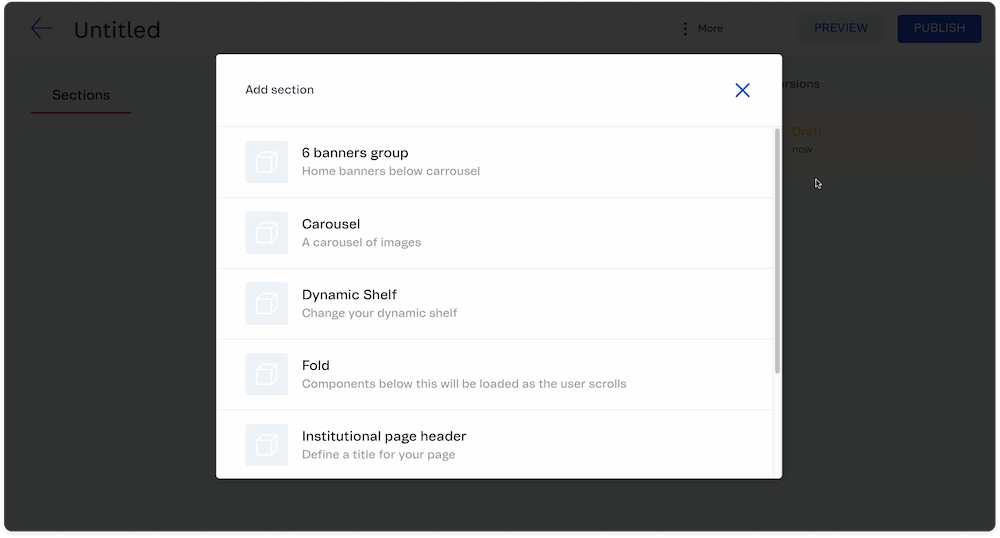
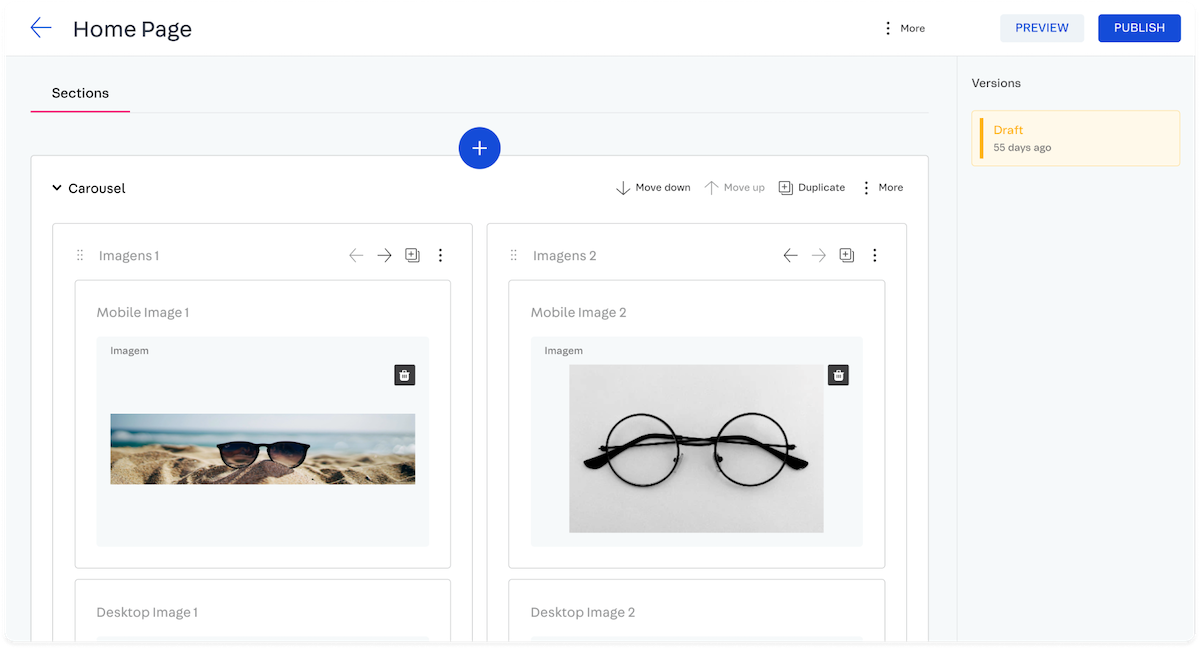
For each Content Type, different Sections will be available to compose that page. Sections represent the content structure of a React component, for example, a Carousel or a Dynamic Shelf.

Sections can be reused in different pages of an ecommerce. You are the one who will choose which Sections will be available at the CMS. Check the following example of the Carousel Section being used:
